Piano Secrets Collection Vol 2 by Kyong Lee
Here is our second collection of Piano Secrets curated by Kyong Lee for K Piano Studio! Level up with these bite sized gems of knowledge.
- Scales… Ah… the scales…It has been told that Chopin chose the B Major as the first one to teach his pupils. We, the modern teachers usually start on the C major scale because there are no sharps or flats to remember. Is C Major more difficult than the B Major? Well, on the surface, intellectually speaking, C Major is the easiest. However, B Major is a great scale to start since it is color coded. White keys are only played by the thumb and the fingers LH3-2 & RH 2-3 will match on two black groups and LH 4-3-2 and RH 2-3-4 will match on the three black key group. Chopin really knew what he was doing!
- The 4th finger will most likely screw up during 2 hand (parallel) scales. With the C Major scale, LH 4 can only land on the 2nd letter of the scale and RH 4 can only land on the 7th. Think about it and try it yourself! Also, think about which other scales have the same fingering and what letter the 4th finger is assigned to. I can go all day on scales….so much to talk about.
- Trills are difficult at times and so frustrating. The trick with trills is to know that the harder you try, the worse they feel and sound. Loud and fast trills tend to sound clunky and unnatural. As you relax and try to play with a lighter touch, you will find yourself improve your trill technique. Stay relaxed, use less pressure, rotate your wrist, and be efficient with your motion. In piano technique often times, less is better.
- Octaves should always be voiced! This means one of your notes is louder than the other. This can be challenging if you have to bring out the pinkie note more than your thumb note. To work on the different pressure levels between the 2 fingers do the following. Play at the same time with 1 lifting up (staccato) and 5 holding down. Go up and down the c major scale in octaves (all white keys). Try pressing the “octave” fingers on your lap (your built-in sensor) to feel if you can press the top note more. REMEMBER TO ALWAYS RELAX AFTER EACH STROKE!
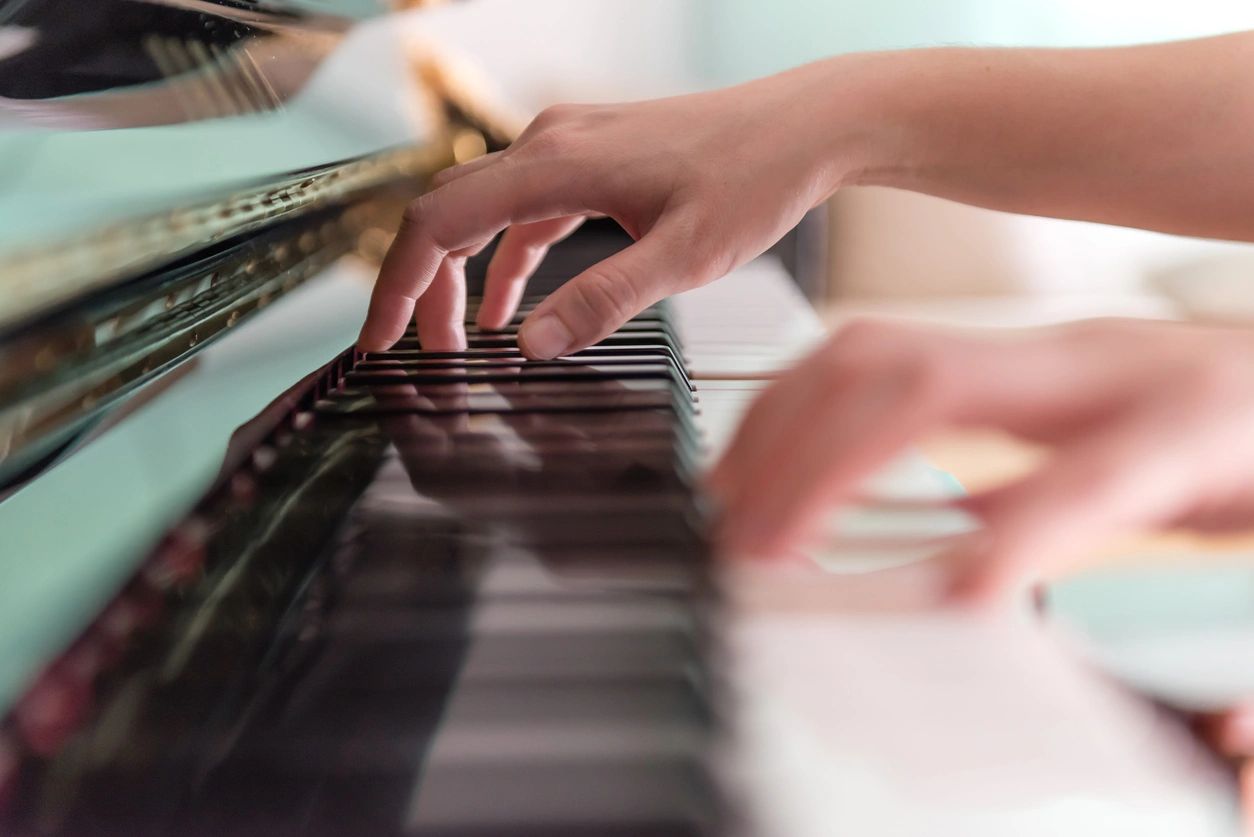
- Our thumbs allow us to play all kinds of great scale passages and arpeggios patterns. Training your thumb is crucial for good piano technique. It’s important to keep your thumb relaxed and keep at about 30 degree angle and you have as little contact with the surface of the key as possible. Work on Hanon 60 exercises #32, 33, and 34 to improve your thumb. I would skip #35 because it’s silly. To curve or not to curve! Your fingertips should be curved (not over-curved) during scale passages but not for stretchy chords and arpeggios. How much to curve? Put your hands palm-side up on your lap and relax completely to see your natural curve. Still confused? Just cover your knee caps with your fingers to check.
- Tip for teachers: when working with children, tell them to make rainbows with their fingers and “poke” the keys.
- If I was allowed to pick only one thing to say during a whole lesson, I would have to pick “Slow Down!”. Slow repetition of a well planned & executed movement is the key! Isn’t it ironic you should go slow to get it done faster.
Stay tuned for more tips and tricks in our three part “Piano Secrets” series! You can also follow us on Facebook, where these tips originated from in the form of FB posts. Thanks for reading!


